On this page
- What you will do
- Before you start
- Step one: choose the account type
- Step two: confirm the e-mail address and sign in
- Step three: complete the profile
- Step four: complete KYC or KYB when a product asks for it
- Step five: know which context you are in
- Step six: create departments
- Step seven: invite colleagues
- Step eight: give people roles
- Check that it worked
- What the portal does not offer
- Next steps
What you will do#
Open an account of the right type, complete its profile, and, if you work for a company, set up the organisation: departments, colleagues and roles. The first two steps take a few minutes; the organisation steps matter once more than one person uses the platform.
Before you start#
- An e-mail address you can read. A company account needs an address on the company's domain.
- For the organisation steps, an account of type Corporate that is the organisation admin, or a role that allows managing users, roles or departments.
- The screenshots are taken on the platform's development environment.
Step one: choose the account type#
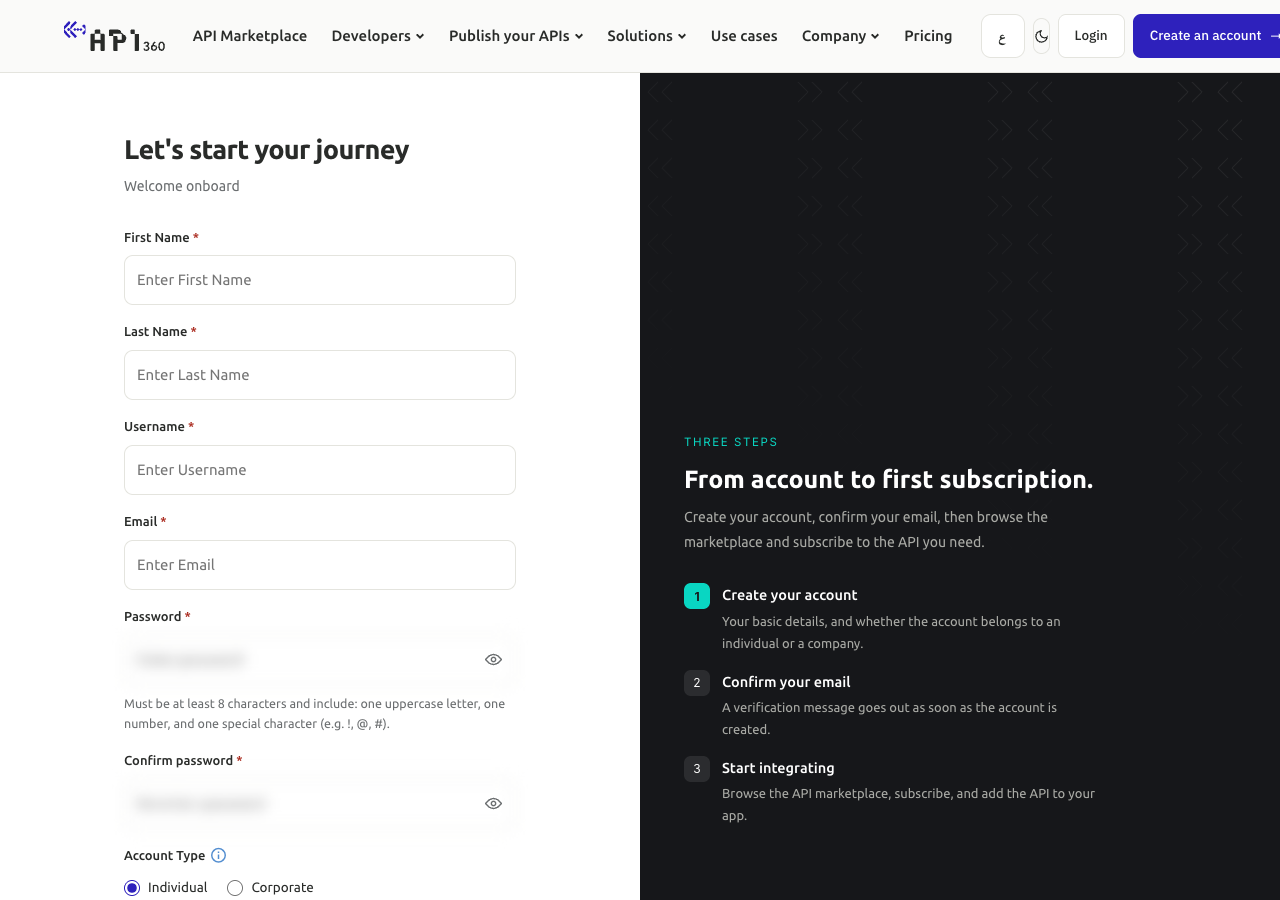
On the sign-up form you choose Individual or Corporate (from sign-up to your first call). The type cannot be chosen again later, so choose it with care.
| You register | What the platform creates |
|---|---|
| Individual | An account for you alone, with no organisation. |
| Corporate, with a company e-mail address no one at your company used before | Your account, and a new organisation of which you are the organisation admin. |
| Corporate, with an address on a domain whose organisation already exists | No account yet: a request to join, sent to that organisation's admin. You are told by e-mail when the admin decides. |
| Corporate, with a personal address (for example Gmail or Outlook) | Refused: a company account needs a company e-mail address. |
Both account types get the two default apps (apps and keys). A person who joins an organisation gets their own two default apps the first time they open My Apps.
Step two: confirm the e-mail address and sign in#
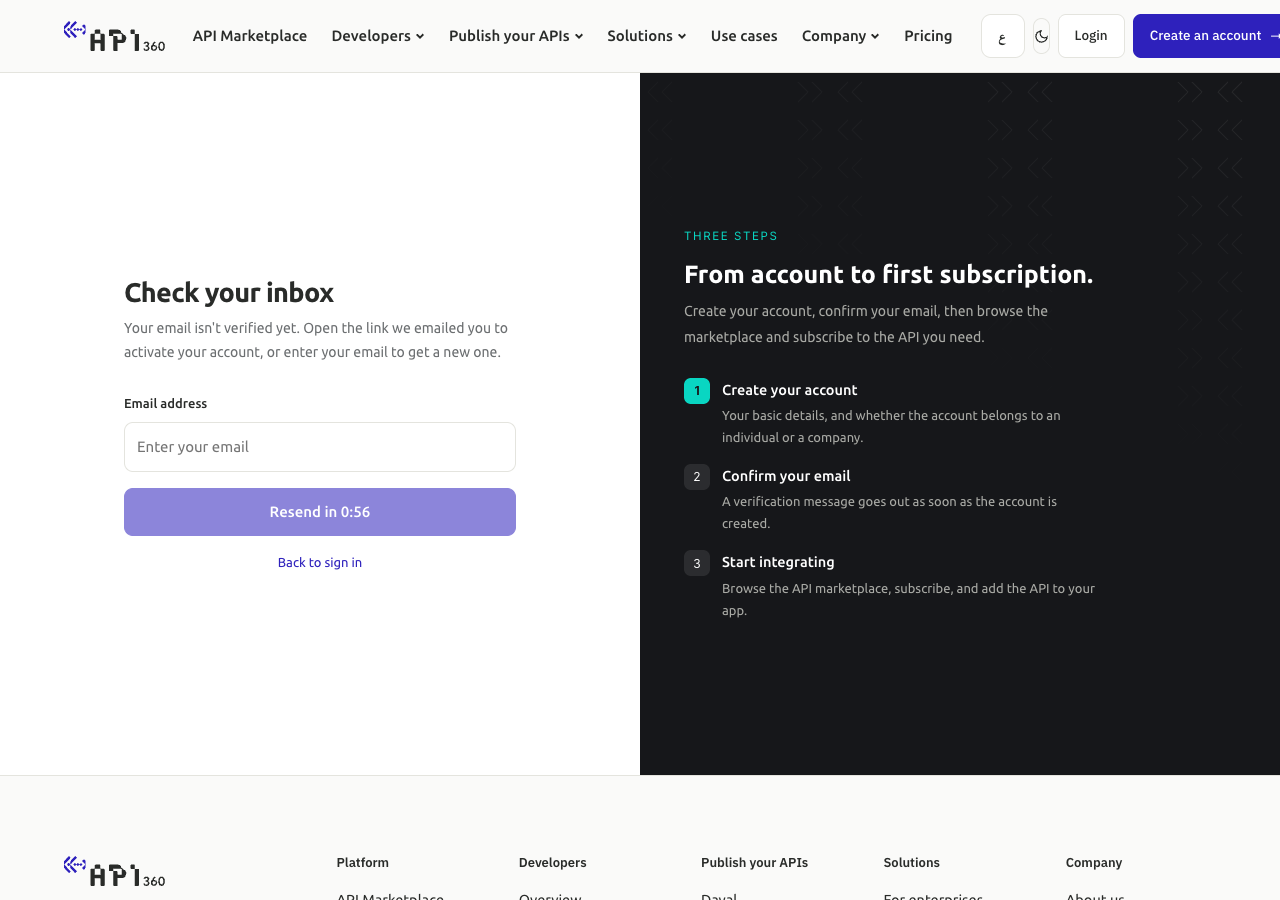
The link in the verification e-mail is valid for 24 hours; the platform sends at most one e-mail a minute and five a day to one address. Until you open it, signing in sends you to the Check your inbox page.
If you forget your password, open Forgot Password on the sign-in page and enter your e-mail address. The platform always answers that a link was sent if the account exists. The link is valid for 30 minutes and works once, and using it signs you out on every device. To change your password while you are signed in, use the same page: the portal has no separate change-password control.
Step three: complete the profile#
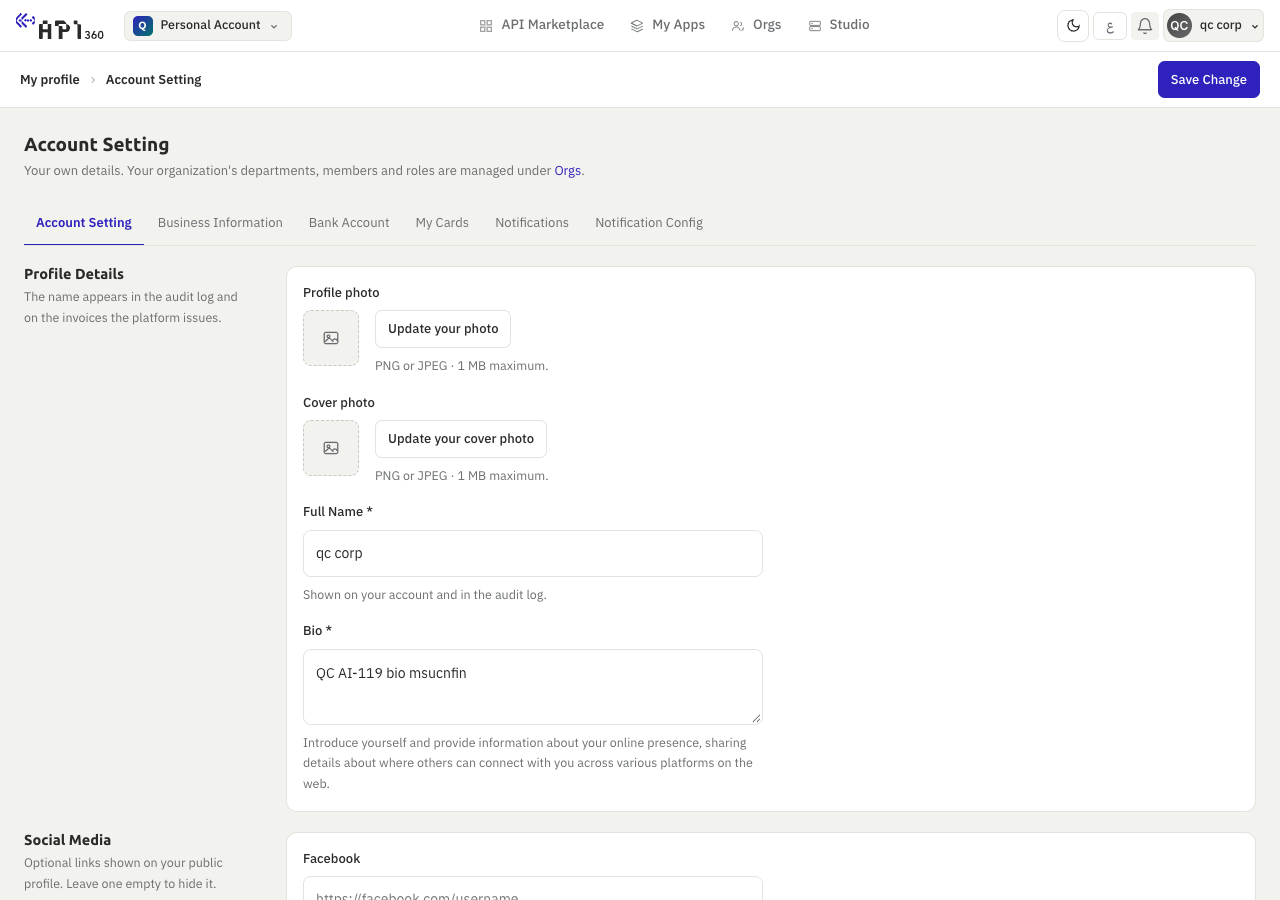
Open the menu with your name at the top right and choose My profile. Account Setting is its first tab, and there you set your photo and cover photo (PNG or JPEG, up to 1 MB each), your Full Name (3 to 100 characters), a Bio (3 to 500 characters) and your Facebook, Github and Linkedin links. Press Save Change. This page does not hold your password, e-mail address or username.
Step four: complete KYC or KYB when a product asks for it#
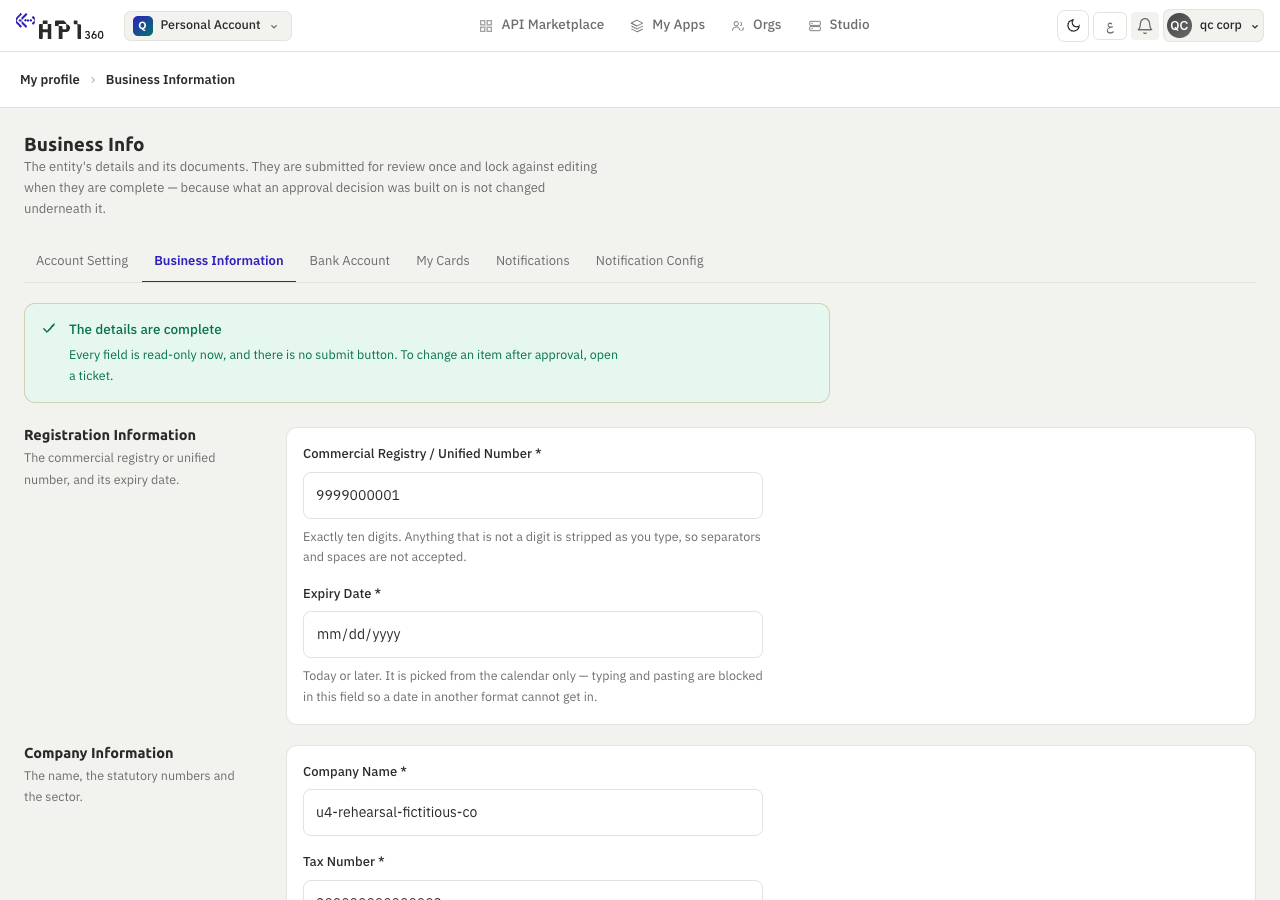
Open Business Information in the profile. An Individual account shows the KYC form and a Corporate account shows the KYB form. A product can require this: its provider turns on KYC/KYB Required, and subscribing to that product, or renewing, is refused until your form is complete. Products that do not ask for it need nothing.
- KYC asks for your national ID (10 digits), your phone number (10 digits, starting
05), country and city. - KYB asks for the commercial registry number, the company name, tax number, national address, the authorised person's national ID and phone number, and PDF documents. The authorised person's letter, certified by the chamber of commerce, is required.
- Press Submit For Review. The status shows as in review. If the reviewer sends the form back, the form unlocks and shows the reviewer's note: correct it and submit again. After approval every field is read-only; to change an item, open a ticket.
- When the platform approves the KYB of a Corporate account, the organisation becomes active. A member of an organisation that is not active yet cannot subscribe to a product that requires KYC or KYB.
Step five: know which context you are in#
A signed-in person works in one context at a time, chosen in the switcher at the top left: Personal Account, the organisation, or a department. The context decides which apps, subscriptions and tickets you see. Only an organisation admin can enter the organisation context; a member enters the departments they belong to. A new app belongs to the context that is active when you create it.
Step six: create departments#
Departments group people, apps and products inside an organisation.
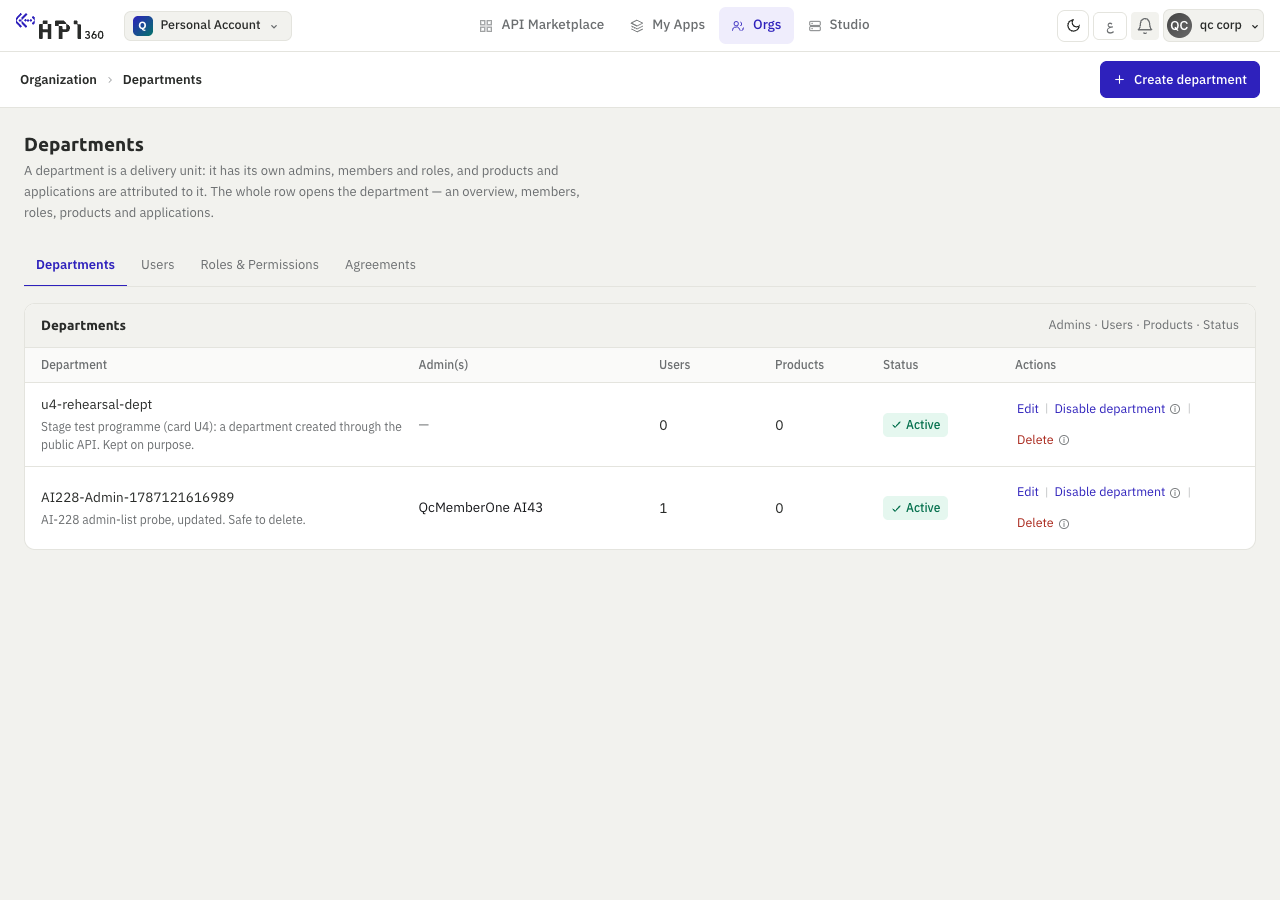
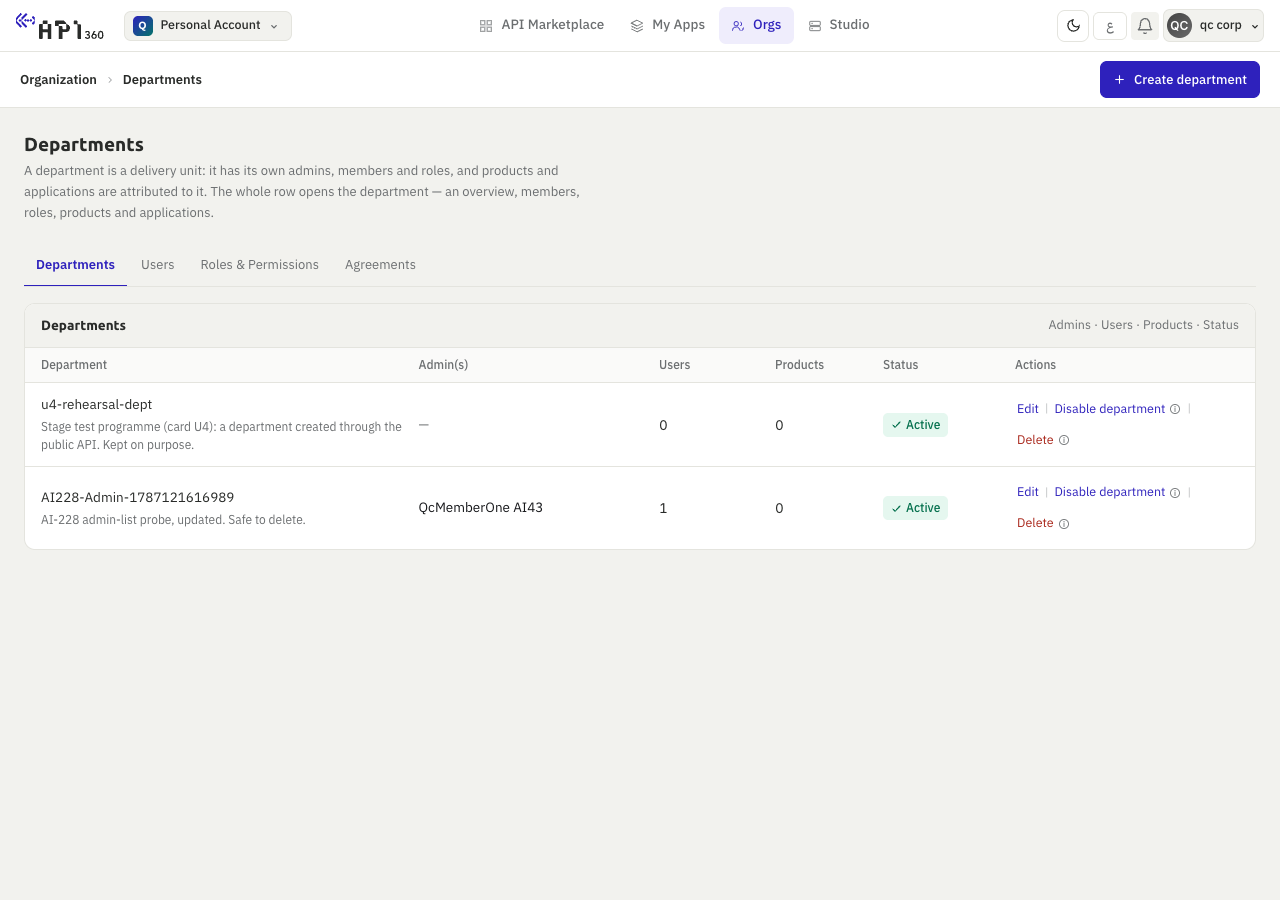
- Open Orgs, then Departments, then Create department.
- Enter the Department name (up to 100 characters), an optional description and, if you want, a Department Admin.
- Open the department to see its Overview, Members, Department Roles, Products and Applications. A new department is empty: you add members and roles from its own screen.
You can disable a department to block new users and new resources while keeping everything that exists. You cannot delete a department that still has users, products or apps.
Step seven: invite colleagues#
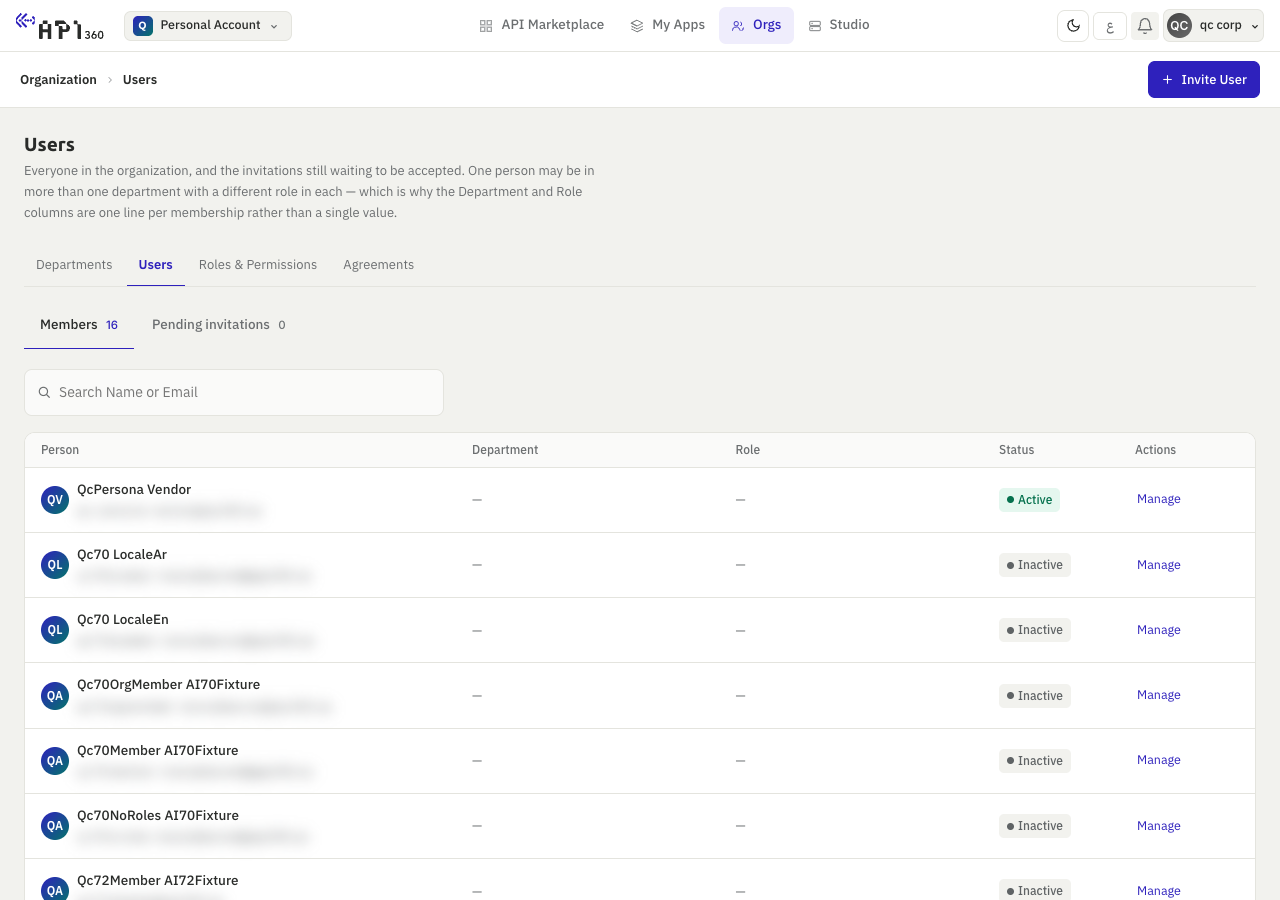
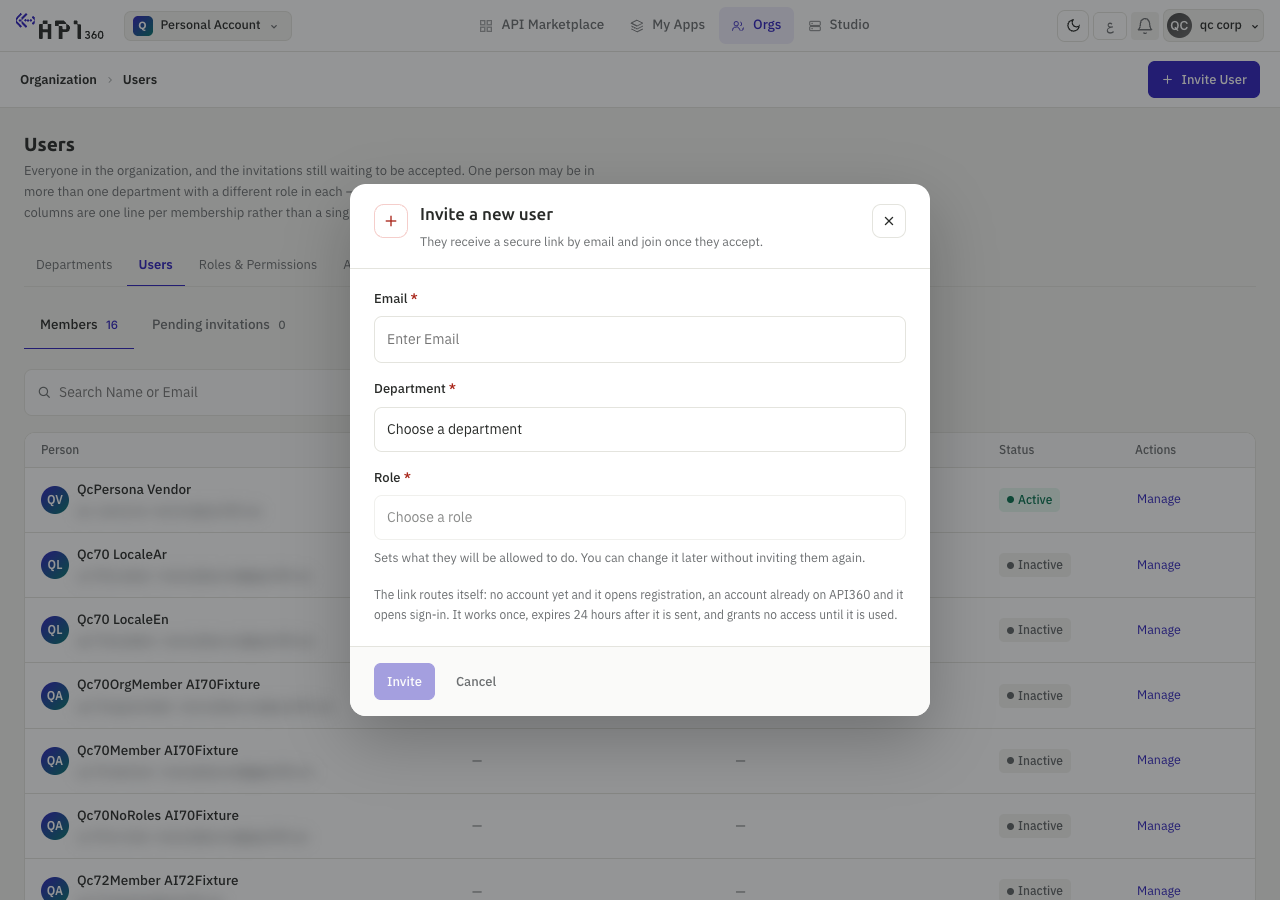
- Open Orgs, then Users, then Invite User.
- Fill Email, choose a Department and a Role of that department, and press Invite.
- The colleague receives one e-mail with a link that works once and expires after 24 hours. The link gives no access until it is used.
A colleague who has no account follows the link to set up an account, confirms the e-mail address and signs in; one who has an account signs in with the invited address and presses Accept invitation. A person who already belongs to another organisation cannot be invited, and the address must be on the organisation's domain or on a common e-mail provider. Pending invitations lists what is waiting: Resend issues a new link, Revoke cancels it.
When a colleague registers with a company address of an existing organisation, the request reaches User Requests. Press Approve or Reject: the decision is final, and an approved person is e-mailed a link to confirm the address and to set a password.
Step eight: give people roles#
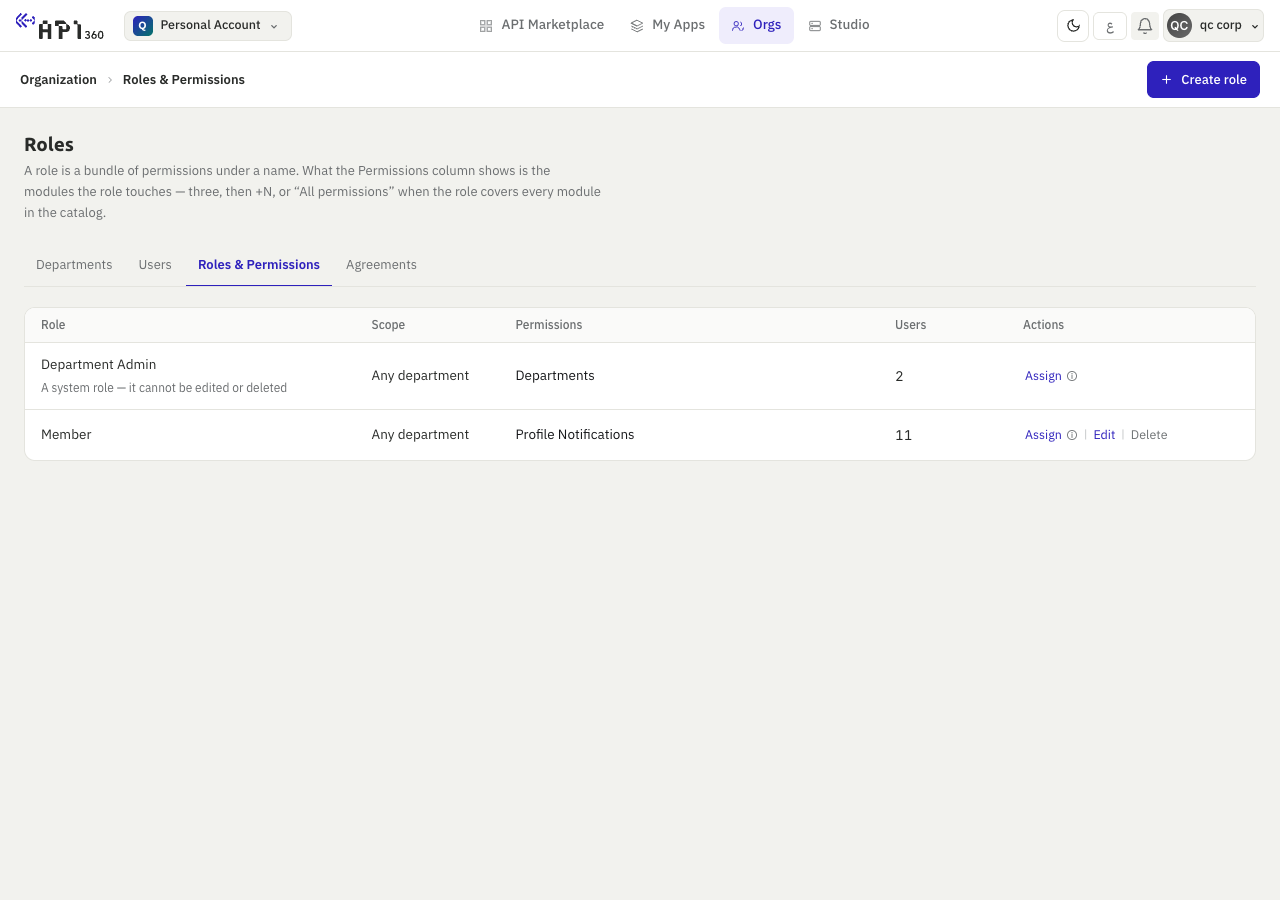
Open Orgs, then Roles & Permissions. Some roles are system roles, for example Department Admin: the list says so, and they cannot be edited or deleted. Press Create role to build your own from the permission modules: Organization, Department, API Products, Applications, Subscriptions, Analytics and Billing. Assign gives a role to people; it is added to the roles they already hold. A role that still has people in it cannot be deleted.
An organisation admin, and a person acting in their own personal account, can do everything their context allows. Everyone else can do only what their roles grant, and a permission you remove stops working on the person's next request, without signing out.
Check that it worked#
- After you submit the KYC or KYB form, the banner Your account is incomplete gives way to one that says your account is in review.
- The switcher lists Personal Account and, for an organisation admin, the organisation and its departments.
- An invited colleague who accepted appears in Users with their department and role, and sees the apps of that department when they switch to it.
What the portal does not offer#
The portal has no screen to change your e-mail address or username, to appoint a second organisation admin or to deactivate a member. If you need one of these, open a ticket.